Seat panel
Seat Panel Installation Guide
Illustrated instructions for routing the lower seat straps, raising the shield, installing the upper straps, and completing the ceiling attachment.
Download PDF 2-page printable trifold · 12.1 MB

Products, fit & guides
Plan around one rider, the driver area, or the full vehicle. We’ll help match the shield size, attachment points, and orientation to the bus instead of forcing the job into a generic package.
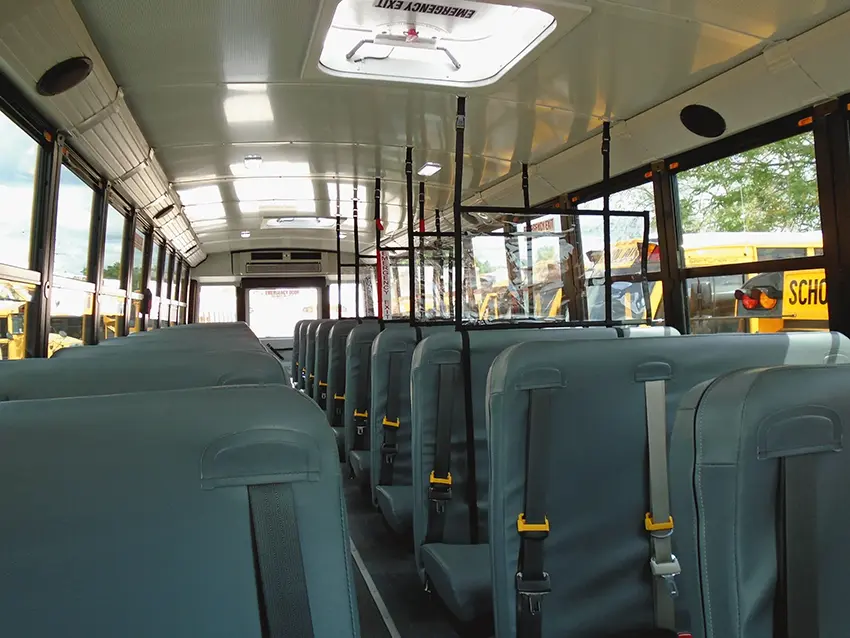
Installation guides
Both approved, printable guides are kept here with the products they explain. Choose the seat-panel guide or the taller aisle-shield guide.
Seat panel
Illustrated instructions for routing the lower seat straps, raising the shield, installing the upper straps, and completing the ceiling attachment.
Aisle shield
Illustrated instructions for fitting the aisle shield, securing both seat-back straps, positioning the upper straps, and installing the ceiling loops.
Send the vehicle type and a photo of the seating area. We’ll identify the shield and installation approach.
Ask our teamChoose by need
Start with the rider, driver, or vehicle area. Product numbers come after we understand the seating position and the actual interior.
About the images: Product designs and mounting details have changed over time. Some product and installation photos show earlier versions, so the current configuration supplied for your vehicle may differ in appearance.
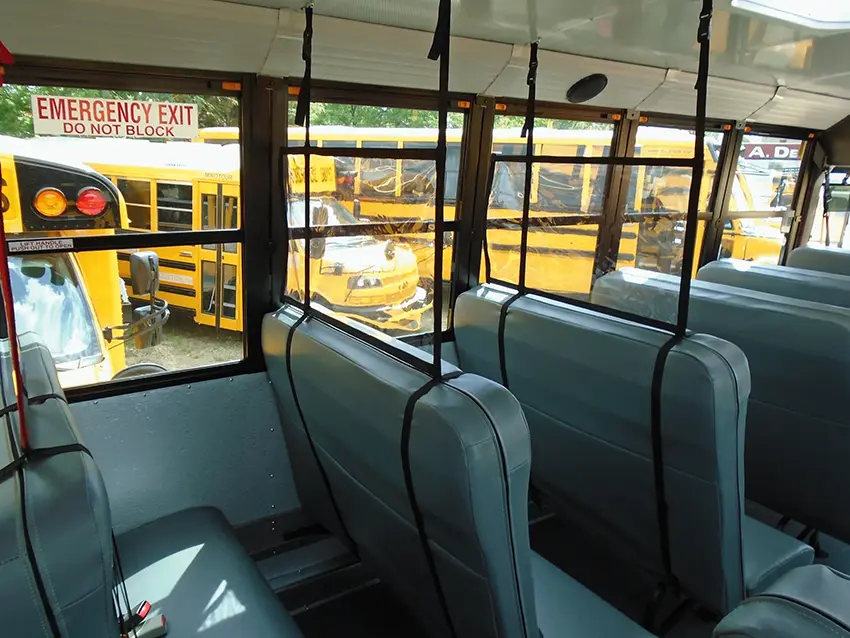
A clear, soft panel mounts at the top of the seat and extends the existing seat boundary upward. Use one in front, one behind, or combine them with an aisle-side shield. It does not run to the ceiling.
Seat shape, width, exit-row clearance, and the customer’s desired coverage determine the final model.
A taller five-sided shield is used to the driver’s right, along the aisle for an individual seating area, or reoriented for certain commercial and paratransit interiors.
Usual starting point for conventional full-size school buses and many measured aisle applications.
Common for flat-nose, city, cutaway, Gillig, paratransit, and other custom configurations.
Same webbing system throughout: every shield uses the same long and short webbing types. The attachment locations and orientation change with the shield and vehicle configuration.
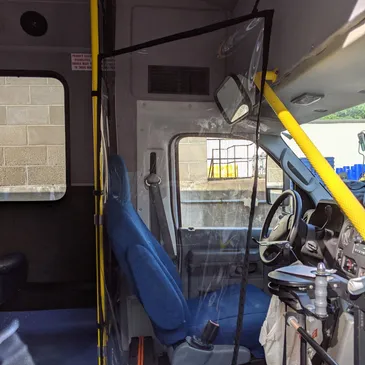
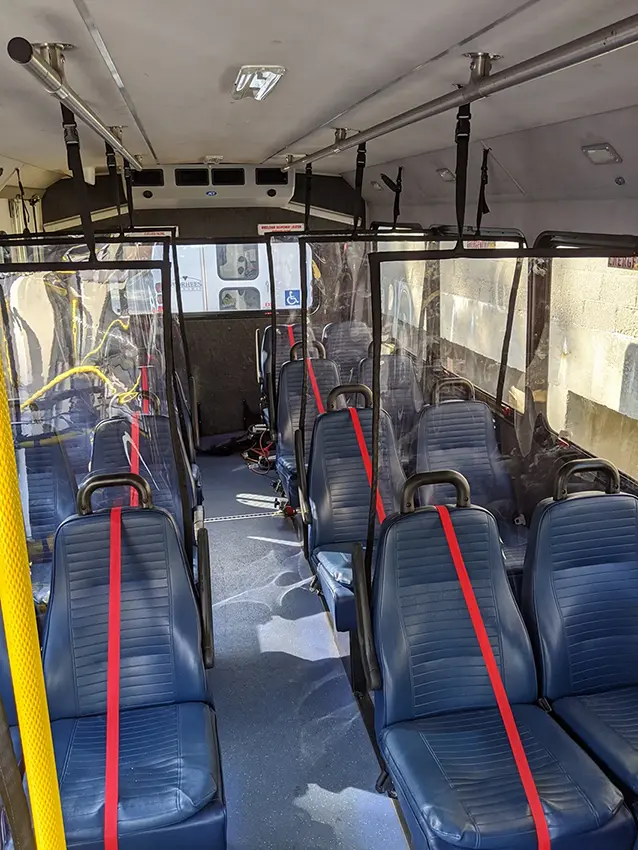
Commercial transit seating uses a different seat-shield setup than a standard school-bus bench. Gillig, paratransit, cutaway, and shuttle interiors are planned from the rail structure, seat style, aisle clearance, and intended orientation.
Wheelchair positions: floor-length panels can be configured around wheelchair seating areas and confirmed compatible Q'STRAINT or other wheelchair-track attachment points. Vehicle, track, hardware, lift, and securement clearances are verified before the configuration is quoted.
Same long-and-short webbing system: commercial configurations use the same webbing types, attached at the locations and orientation required by the vehicle.
Send photos, measurements, mounting details, or a sketch. We routinely adapt orientation, straps, and shield selection around real interiors.
Show us your setupVehicle starting points
The shield and webbing system was designed to support multiple applications. Orientation, attachment locations, and model selection are configured deliberately for each interior.
Driver 30″ is the usual large-shield starting point. Passenger model depends on the seat behind the driver or the selected student area.
Driver 40″ is commonly used beside the driver. Actual clearances and mounting points must be measured.
Diamond, Champion, E-series, and similar interiors use measured Driver 30″ or Driver 40″ configurations.
The Driver 40″ may be rotated 90 degrees or strapped differently for Gillig-style and other commercial interiors.
The adaptable shield design can work in other vehicles when mounting points, orientation, and clearances are confirmed from photos and measurements.
Hardware & seat control
Shield kits include the required mounting hardware. Separate kits support replacement or alternate configurations; seat blockers provide a simple way to mark a seat unavailable.
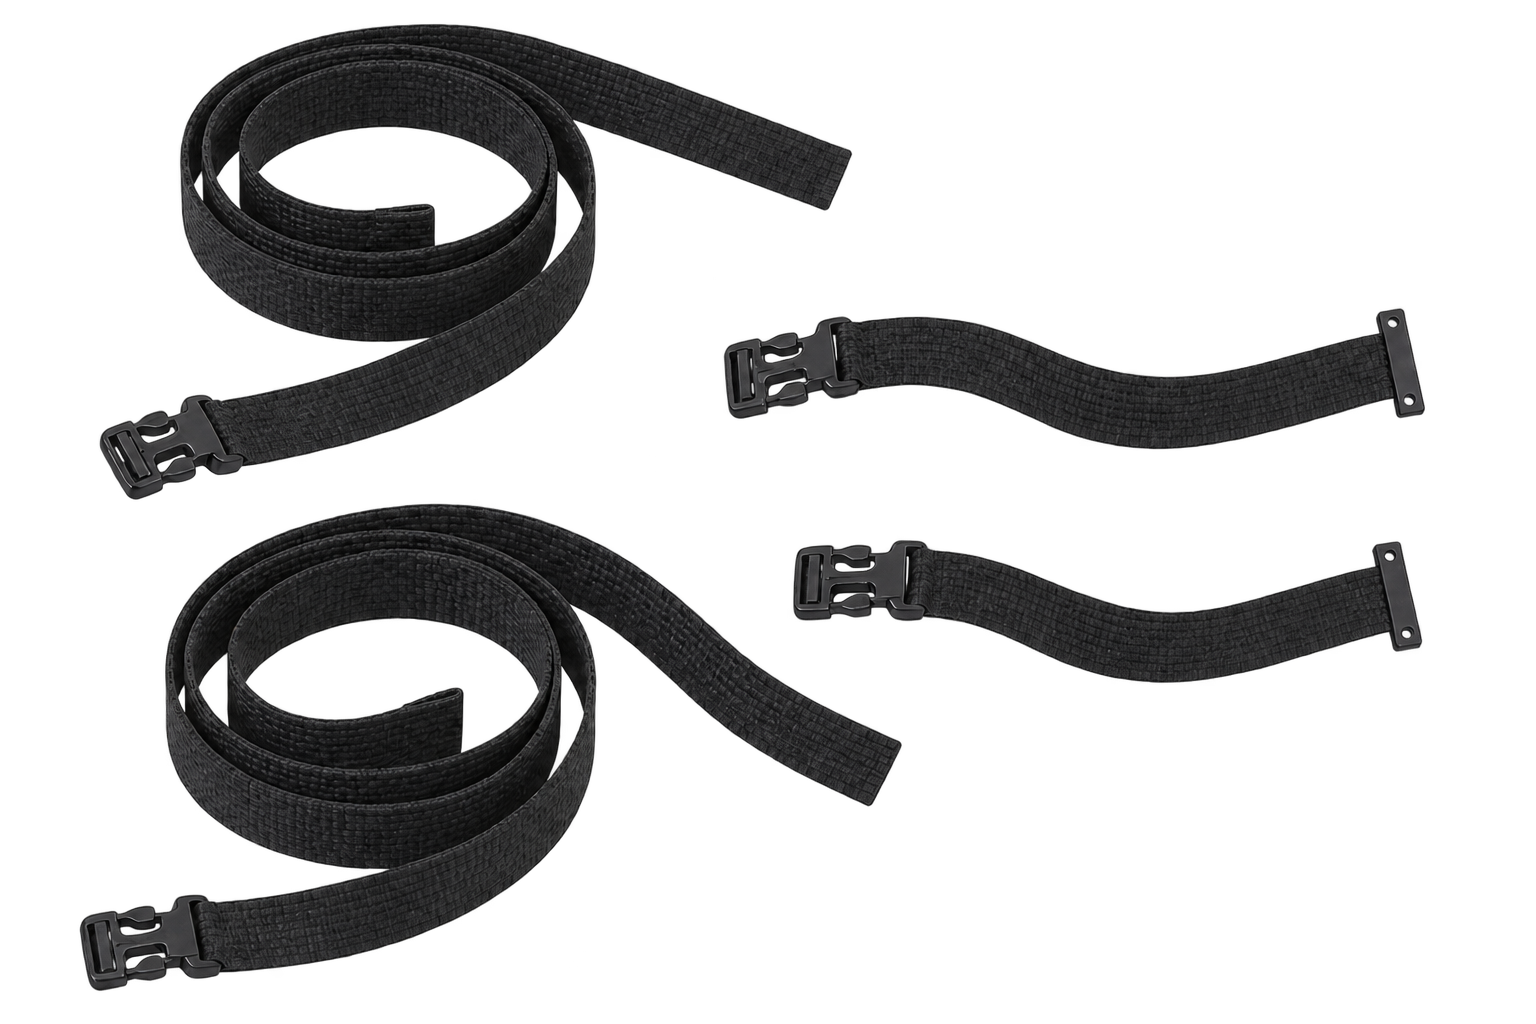
Replacement straps and mounting hardware for one passenger-seat or driver shield.
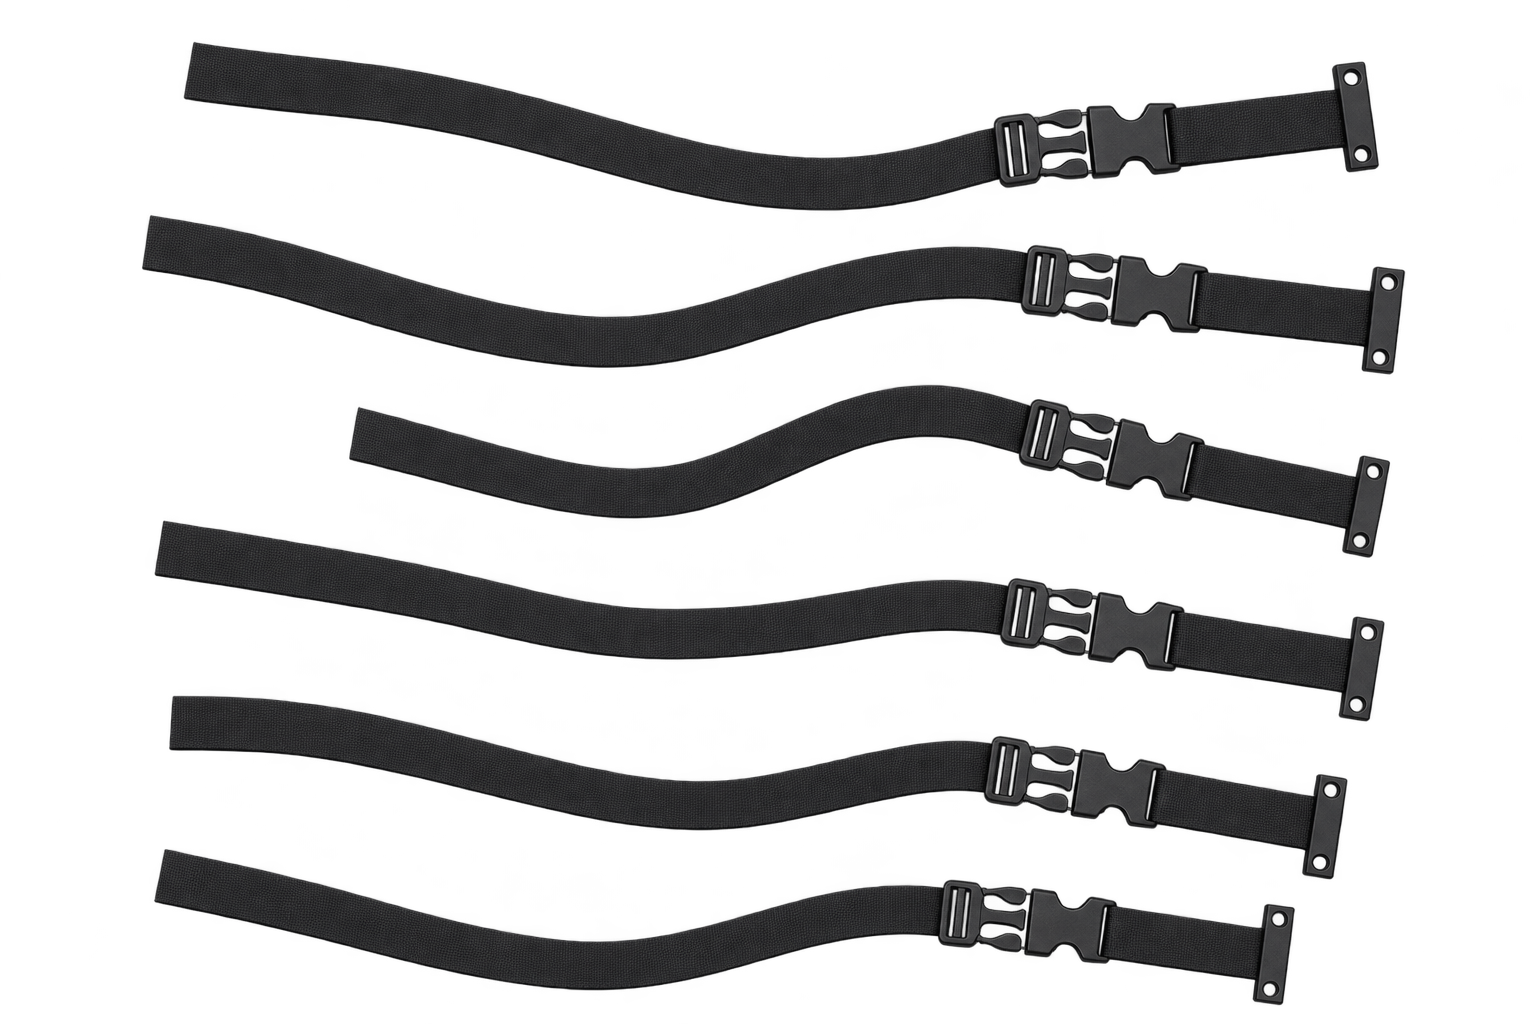
Replacement hardware for a shield configured in a commercial vehicle.
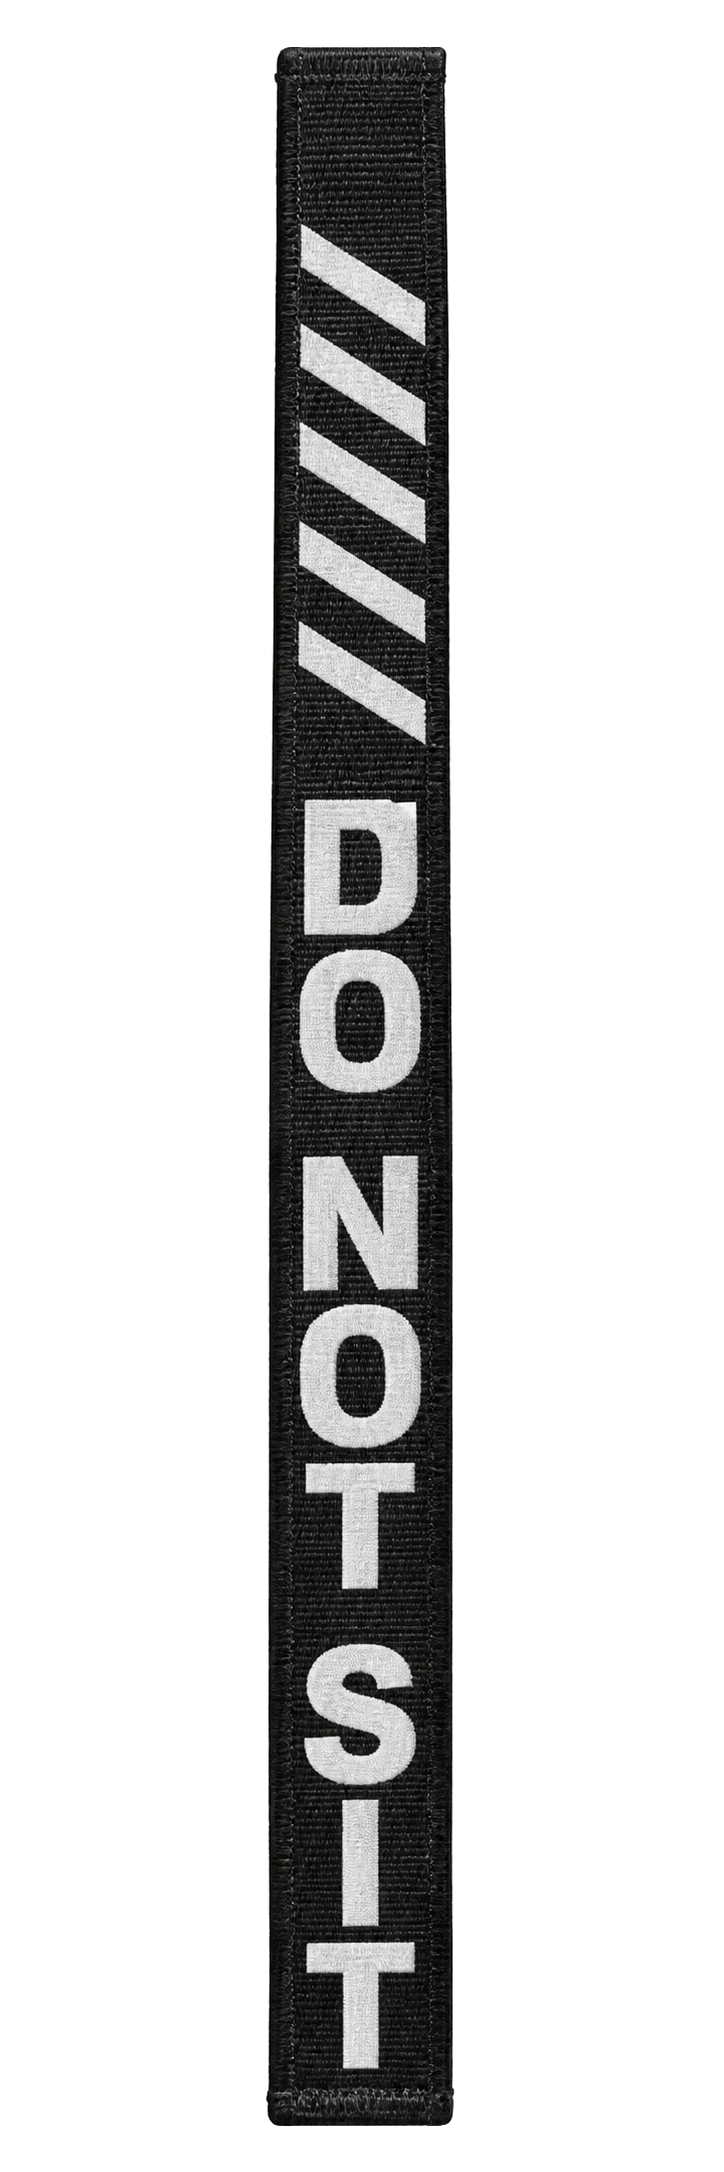
A webbing barrier that runs down the center of a seat to mark the position unavailable. Standard configurations use black or red webbing with white or red applied-vinyl or embroidered lettering. A bilingual version is also available.
Start with your route
Send the vehicle type, intended seating area, photos, and any measurements you have. Custom interiors and installation requirements are welcome.